A swift and effortless method to merge payment processing and signature capture seamlessly within a single step.

Watch our video tutorial to discover how to use our request payment feature to capture payments.

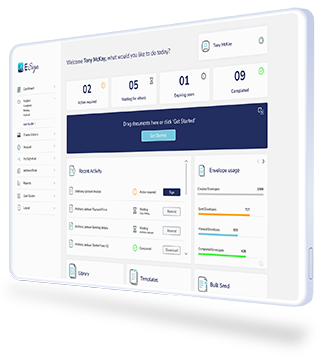
To get started with payment capture, you must enable the feature in your account settings. Click ‘Settings’ or your avatar in the top right of the dashboard.

In the ‘Add ons’ section, click enable to enable payment capture.

The next step to enable the feature is in the payment details section. Please enter the card details of the account you wish to receive payment too, this will be connected via Stripe.

Now you can begin the process of requesting payment. Click ‘Get started’ or drag the necessary document into the middle of the dashboard.

Choose from one of our six upload options shown here to upload your document.

Here you can enter the recipients details such as name and email address. You can also add additional options such as generate SMS pin or send reminders. You can also enter the name of the envelope, subject line and email content which the recipient will see when they receive the email.

Once you can view the document, place the required fields onto the document such as signature, date or initials. You will also the option to request payment. Click this option and place it onto the document where necessary.

In the right hand side column you will see the option to enter the amount for payment. Please enter the value here, e.g. £20. You can also set the payment to be required or optional.

Once you are happy with the document, please click ‘Continue’, followed by ‘Confirm and send’ to send the document.

To use payment capture, you must have an active Stripe account. This is where the payment is processes. You can enable payment capture in the account settings of your dashboard.
E-Sign takes care of this for you. We use ‘unique identifiers’ (as per legislative requirements), to ensure the integrity of the signature capture process is maintained.
E-Sign also allows you to request as much additional information as to wish from the signer, to assure you that your signatory is who you believe them to be.